Beauty
A Beginner’s Guide To Applying False Eyelashes On Yourself
It’s simpler than you think.

Applying false eyelashes at home is the ideal situation. You get enviable long lashes at a fraction of the cost of lash extensions and without leaving the comfort of your own home. It’s a win-win...except for the fact that applying eyelashes yourself can be hard. Really hard.
But not all hope is lost. With some guidance on how to start and a little practice, you’ll be a pro in no time. Here, celebrity makeup artist Ash K Holm breaks down how to apply false eyelashes for beginners. Follow these four simple steps.
1. Trim Your False Eyelashes
According to Holm, the number one mistake she sees people make when they apply false eyelashes is wearing ones that don’t fit. When falsies hang off the eye, she says it makes the eyes droop downward. She recommends holding the lash strip up to your eye as the very first step to avoid this.
“Holding the lash up to your eye before gluing is a necessary extra step we should all take to make sure it’s a perfect fit,” she says. Not sure how to trim your fake eyelashes? Holm says to start at the outer corner, and snip until they’re perfect.
How much you trim is totally dependent on what feels best for you, ranging anywhere from one to four notches. Make sure you only cut off a tiny bit at a time. Otherwise, the strip may end up shorter than you intended.
2. Apply Lash Glue Strategically
With some false lashes, you put the glue on the lash band. Holm says she prefers to apply a small amount of glue to the entire band first to get it a little tacky before applying. (If you don’t wait long enough for the adhesive to become tacky, the lashes might slip right off and create a sticky mess.)
With something like the KISS Felt Tip Glue Liner Lash Adhesive, you can put the glue directly on your lash line and instantly put the faux fringe on after. “The lash glue liner also makes it a breeze by lining the lash line first for an immediate lash application since it gets instantly tacky, and you’ll never make a mistake because it’s clear,” she says.
She recommends applying it the same way you would apply eyeliner to both eyes. Next, use an eyelash applicator to pick the strip up at its center. Lastly, place the strip where you drew the glue on.
3. Tilt Your Head Back
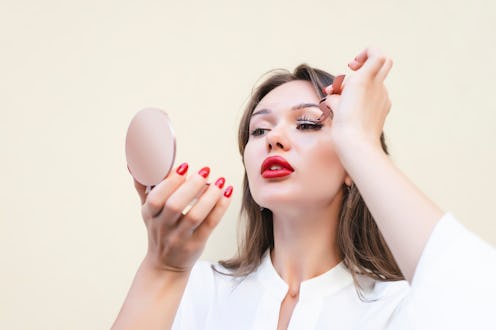
Instead of looking straight ahead or down at a mirror when putting on lashes, Holm says the best way to put them on is by tilting your head back slightly and dropping the lash directly in the center.
“I prefer to tilt my head back when dropping the lash on the lash line because it allows me to see exactly what I’m doing without getting my real lashes in the way of the application,” she says. “Dropping the lash directly downward into the lash line helps to position the lash comfortably.”
She doesn’t recommend using a handheld mirror so that you can focus on placing lashes correctly before the glue is fully dry.
4. Press Your Natural & False Eyelashes Together
The last step is securing the false lashes so they don’t fall off. Holm says to use a lash applicator to press your real lashes together with the false ones. Make sure that both the inner and outer corners are blended together and there you go. You’ve successfully put false lashes on yourself. Your beauty looks just got a whole lot better.