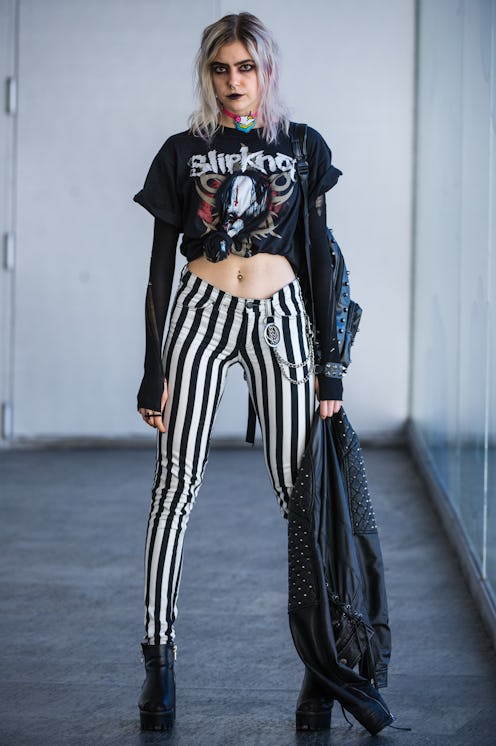
Graphic and concert t-shirts are great basics, like white tees. The images are fun and bright, and they can be humorous or show off your cultural tastes, unless, of course, you wear one of those dumb "Cool Story Babe...Now Go Make Me a Sandwich" tees. That's plain stupid.
But the cut and the silhouette of rock tees? They can also be a real downer, for sure. But you can totally transform a boring tee usually manufactured for dudes into a deeper, feminine scoop neck or v-neck in a few easy steps and with one tool. I've been doing it for years.
As a music publicist and writer, tons of bands give me free shirts, which I am happy to wear. I love a good rock tee. But oftentimes, they were just men's t-shirts in small or medium sizes, which didn't exactly hug my curves. They ended up stacked in my closet — until I decided to take the initiative. I bought a pair of fabric scissors at Target and decide to chop up the tees until they looked cuter, sexier, and flattering to my shape.
I have Ds, so the collar and straightness of the shirt flattens my boobers and doesn't flatter them, so I started hacking off the collars. Or I would slice the tee right down the middle, which would create a V-shape that, upon washing and drying, would become a more rounded, U-shape, and let my boobs breathe. I could show off the lady lumps.
Sometimes I cut off the stitched ends of the sleeves, to further rough it up. I don't slice the sides or the back of the tees since that's beyond my skill level and a bit complex. I am a master at revamping the collar and neck.
I don't measure. I don't use Sharpies to mark lines on where to cut. I eyeball it and that's it. Since these are rock tees, or graphic tees, and it's cotton, the edges curl slightly, giving it an even more custom look.
Here's a step-by-step guide for two of my favorite tee cutting techniques. Both take less than five minutes. Let's do this.
This is a cool, Halloween-y skull tee. Let's make it stylish.
All you need is a pair of quality fabric scissors. These guys were like $17 and they glide through the fabric. Just don't ever use your fabric scissors on paper — it dulls them to near uselessness almost immediately.
The Scoop Neck
We're going to cut off the collar to give it a looser, off-the-shoulder look. It's a homemade scoop neck.
1. Start snipping about two inches from the top.
If you want to measure, go ahead. I don't and get a clean slice every time. Plus, if it's slightly uneven, you can show off one shoulder!
2. It's Okay If The Edges Look Ragged
One wash and it'll curl in an almost vintage, lived-in fashion and look even MORE awesome.
3. Trim The Sleeves
Cut right above the stitching line or you will be left with a mess.
No, really. You shouldn't cut too much past the seam or you'll be left with loose threads or a weird angle.
This is how it will look. When you put it on, it's got a scoopier neck and can even look or be off the shoulder, depending on how wide the cut is.
The V-Neck
Want to let those boobies breathe and make your unisex shirt feel more feminine? Let's attack this Hall & Oates shirt, which I got when I saw them at Irving Plaza a while ago. Of course H&O were amazeballs.
1. Lay Flat And Slice Down The Middle
Again, you have to eyeball it. I use the tag as a guideline. Lay the shirt flat and cut straight down the middle, from the top, to about where the graphic starts and depending on how deep of a plunge you want when showing off the tatas. That's it!
This slit will leave you with two flaps. When you put the shirt on, you fold the collar in the back under and the flaps will adjust to your boobs. It looks better when you wash it, since it becomes a super flattering U shape.
This is pre-washed but it gives you an idea of how it will look. Once you wash it, it will spread, adopt a rounder shape, and be even more flattering.
Images: Amy Sciarretto/12