Life
How To Clean Your Kitchen Sponge
It's more than a little depressing to realize that your cleaning tools themselves require cleaning — does the cleaning ever end? But if you want to up your adulting game, learn how to clean your kitchen sponge using this simple technique via Tech Insider. With ordinary usage, tons of potentially disease-causing germs are lurking in ordinary kitchen sponges everywhere, including campylobacter, salmonella, staphylococcus, E. coli, and listeria. If you aren't cleaning your kitchen sponge regularly, then every time you run that germ magnet over dishes, you could be making things even worse!
Personally, I've always just tossed my sponge into the dishwasher and called it a day. But it turns out that that is not enough to keep the sponge really clean (as maybe I should have guessed from the fact that it comes out of the dishwasher still smelly). Good Housekeeping conducted a scientific investigation of various sponge cleaning methods with the help professional testing lab, and the bleach method described by Tech Insider was the clear winner. Although putting the sponge into the dishwasher kills some germs, it leaves behind both salmonella and E. coli (even when you add a heated dry cycle).
Another common suggestion is to microwave the sponge (while it's wet, so as not to set it on fire). But microwaving doesn't kill all the E. coli either, according to the Good Housekeeping investigation. As annoying and caustic as bleach is to work with, it really is best in this case.
Finally, although other kitchen cleaning implements like dish brushes and plastic scrubbers seem to hold fewer large food particles and are less absorbent than sponges, they can certainly harbor germs too. So you should give your whole kitchen cleaning gang a bleach dunk frequently to prevent illness, and here's how it's done.
1. Gather your supplies
You'll need bleach, water, gloves, a big storage container, a bowl or basin, and, of course, that nasty sponge!
2. Pour water into the large container
Tech Insider suggests using a gallon jug, like a milk jug. If you choose this size, use 14 cups of water to leave some room for the bleach. Using a funnel will make adding liquids to a narrow-topped container easier.
3. Add bleach to the water
If you used 14 cups of water, you'll need to add 14 ounces of bleach. The end result should be a solution with a ratio of 1 part bleach to 9 parts of water.
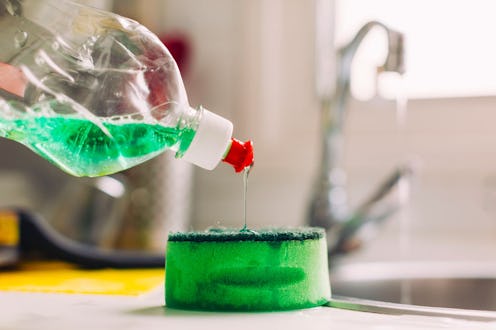
4. Pour the solution onto your sponge
Carefully pour the bleach solution onto your sponge (and avoid splashing anything you don't want to have a sick '90s acid washed look). Tech Insider says that the germs will be killed instantly upon contact with the solution, while Good Housekeeping used a 5-minute soak time in their tests. You could give the sponge a few minutes just to be safe. If you made a gallon of bleach solution, you'll have lots to spare so that cleaning your sponge for the next several times will be easier.
5. Rinse and dry
Rinse the sponge with clean water to remove all the bleach (and dead bacteria, ick). Bacteria love to grow in moist environments, so make sure that sponge dries quickly or you'll be back at square one again. Wring it out and place it on a clean plate instead of in that puddle by your kitchen faucet.
To view this sponge cleaning method in action, check out the whole video here:
Images: BONNINSTUDIO/Stocksy; Tech Insider/Youtube(5)
